TABLE OF CONTENTS
Home media server
I was bored and wanted to created my own personal netflix at home. So, naturally i wanted some kind of hardware that can run a media server
Fortunately, I had a spare laptop lying around a toshiba 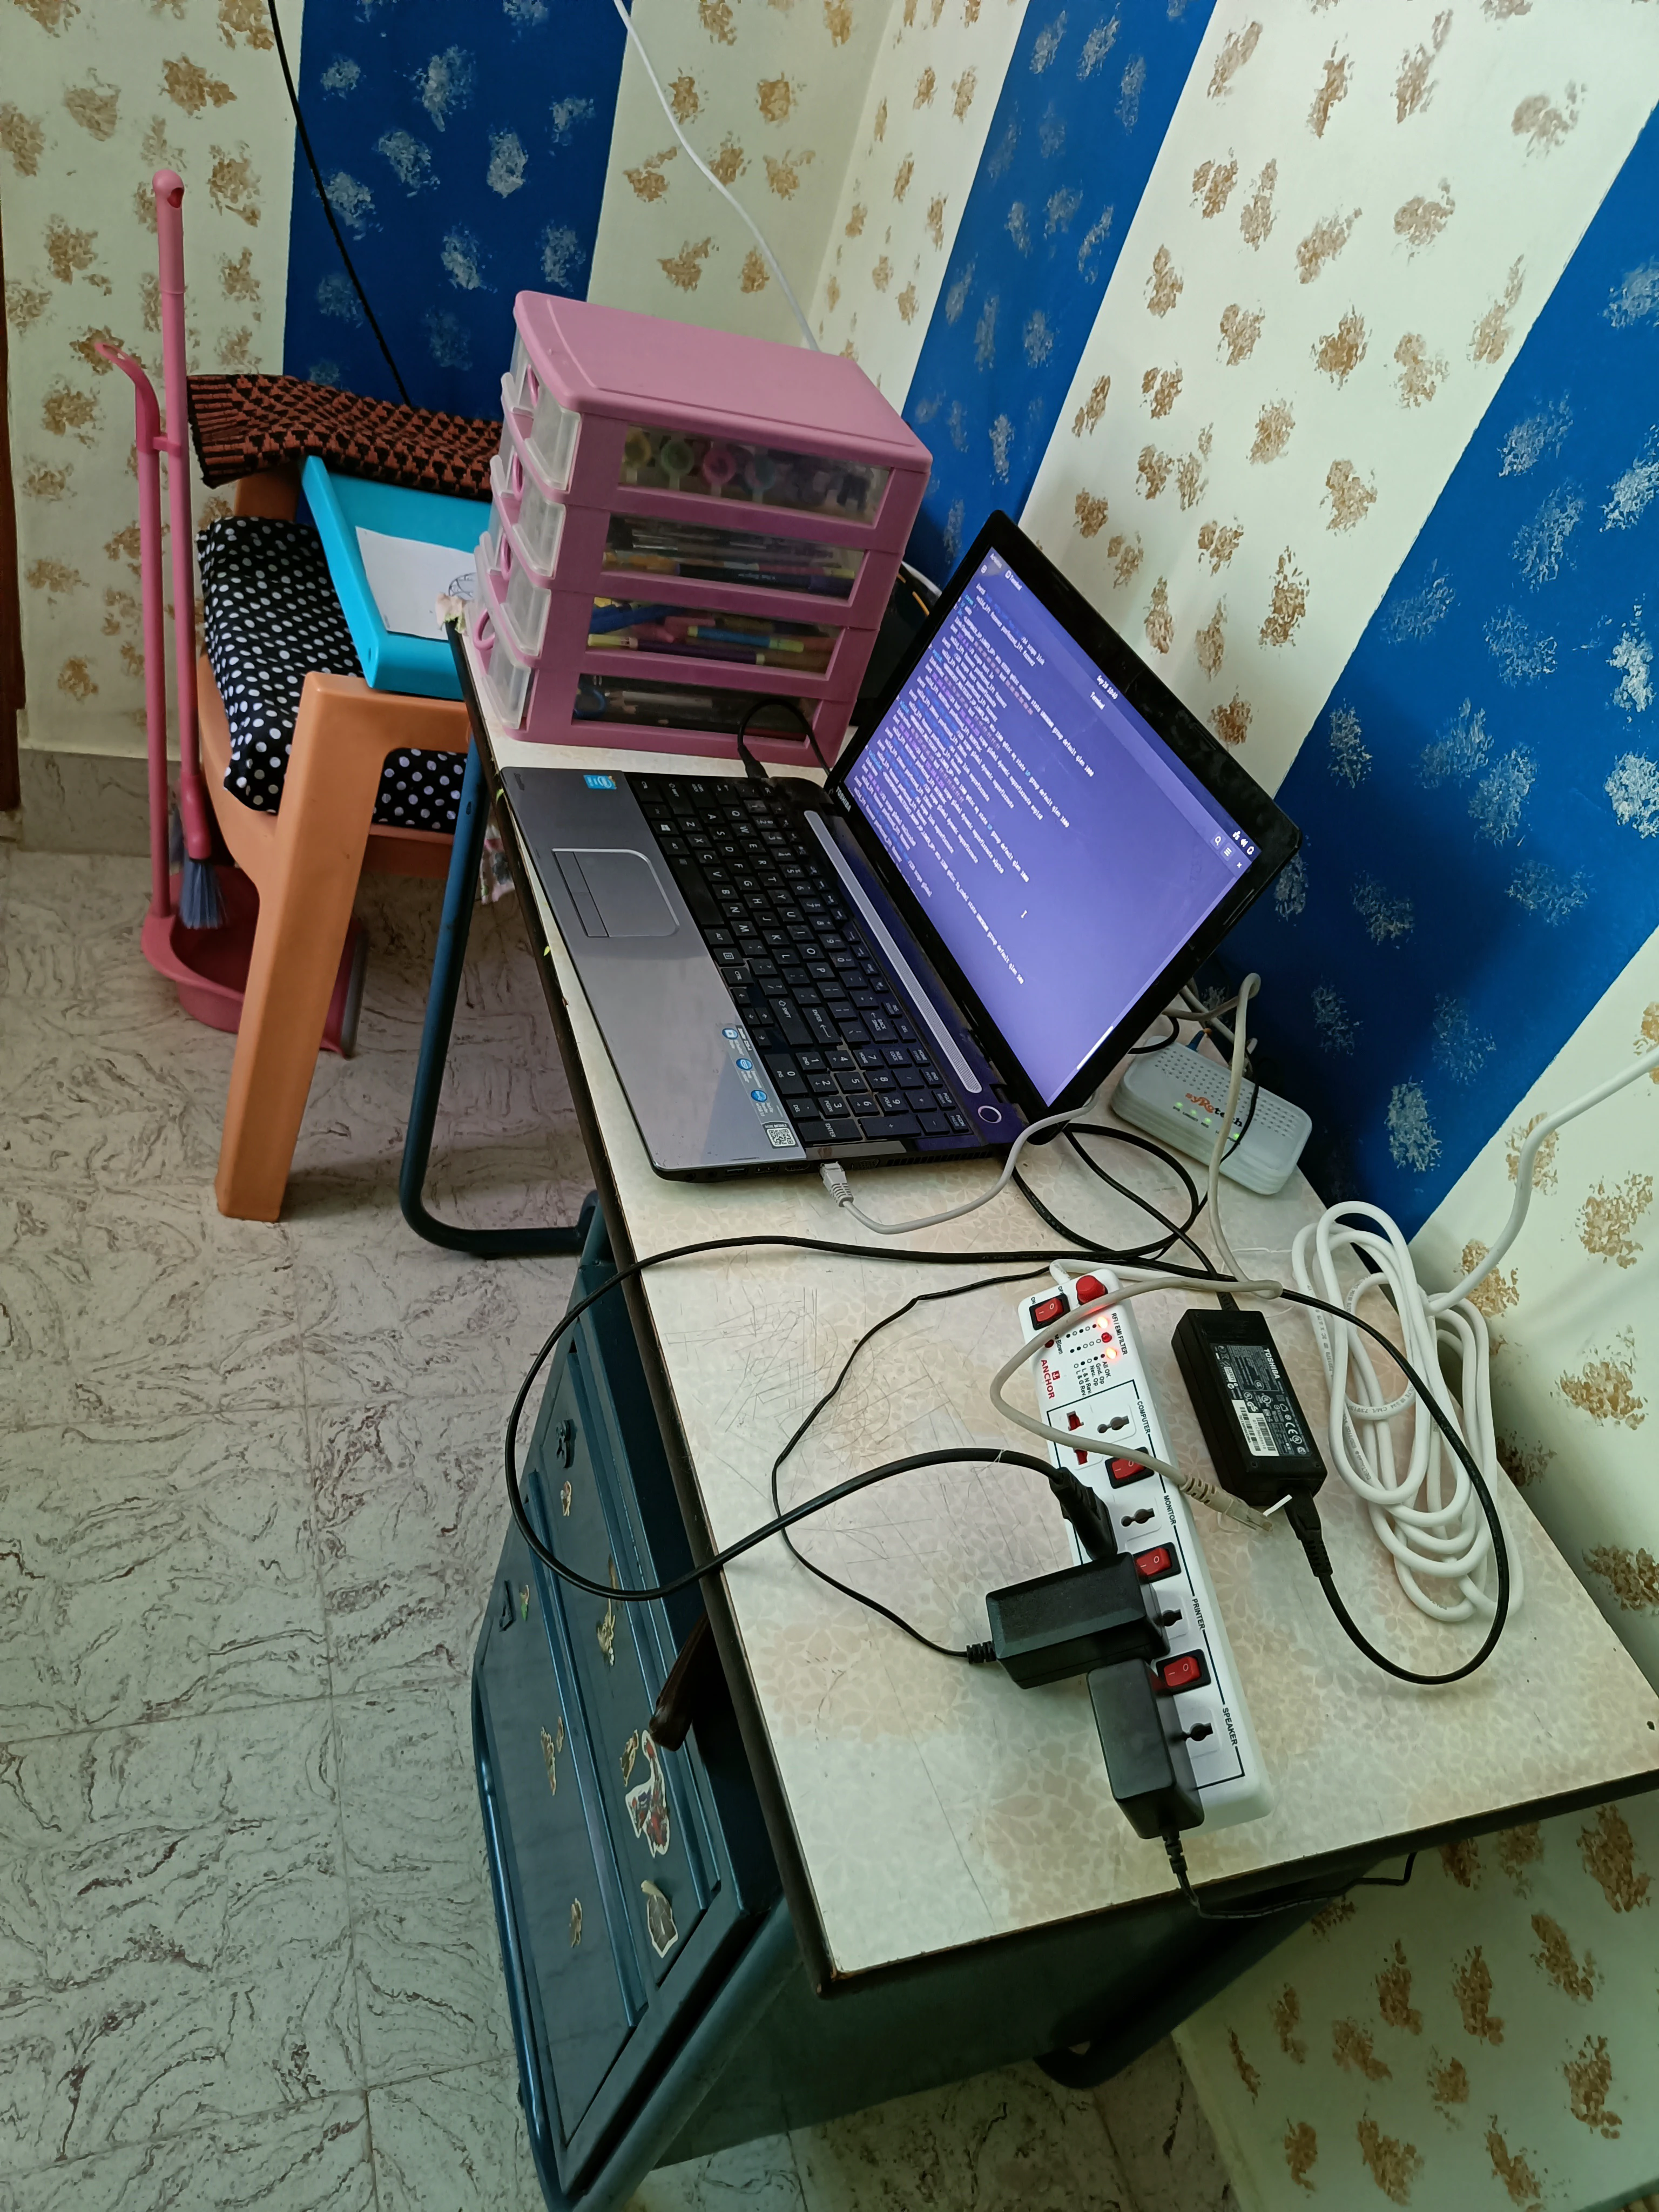 .
.
specs
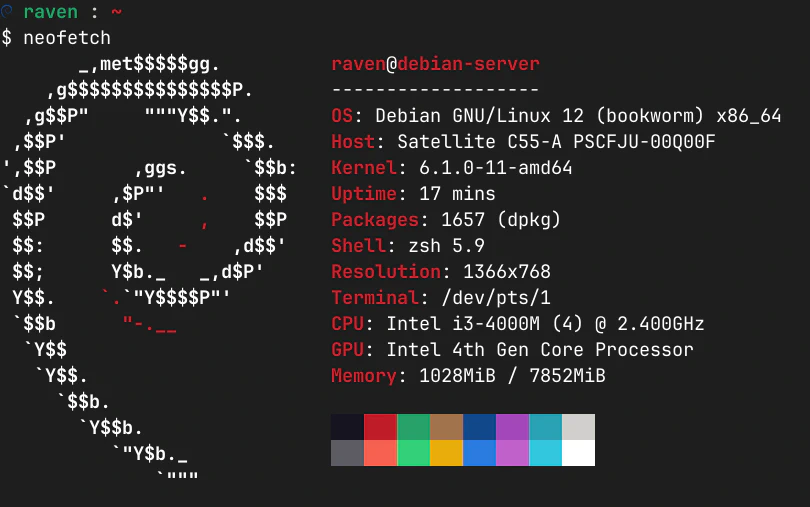 Not too shabby if i say so myself.
STEP 0
OS of choice
Nowadays we have gotten a lot of options for installing an operating system that is server ready and usable to the user. meaning i have gottent a lot of options. I have experience running a Arch linux system for the past 2 years and Fedora system for about 6 months. I only ever used a debian based distro when i was dipping my toes into linux and that was about 3.5 years back So, i decided why not try Debian 12 (book work). Everyone priased it as a rock solid distro with amazing performance and stability.
STEP 1
DOWNLOADING OS
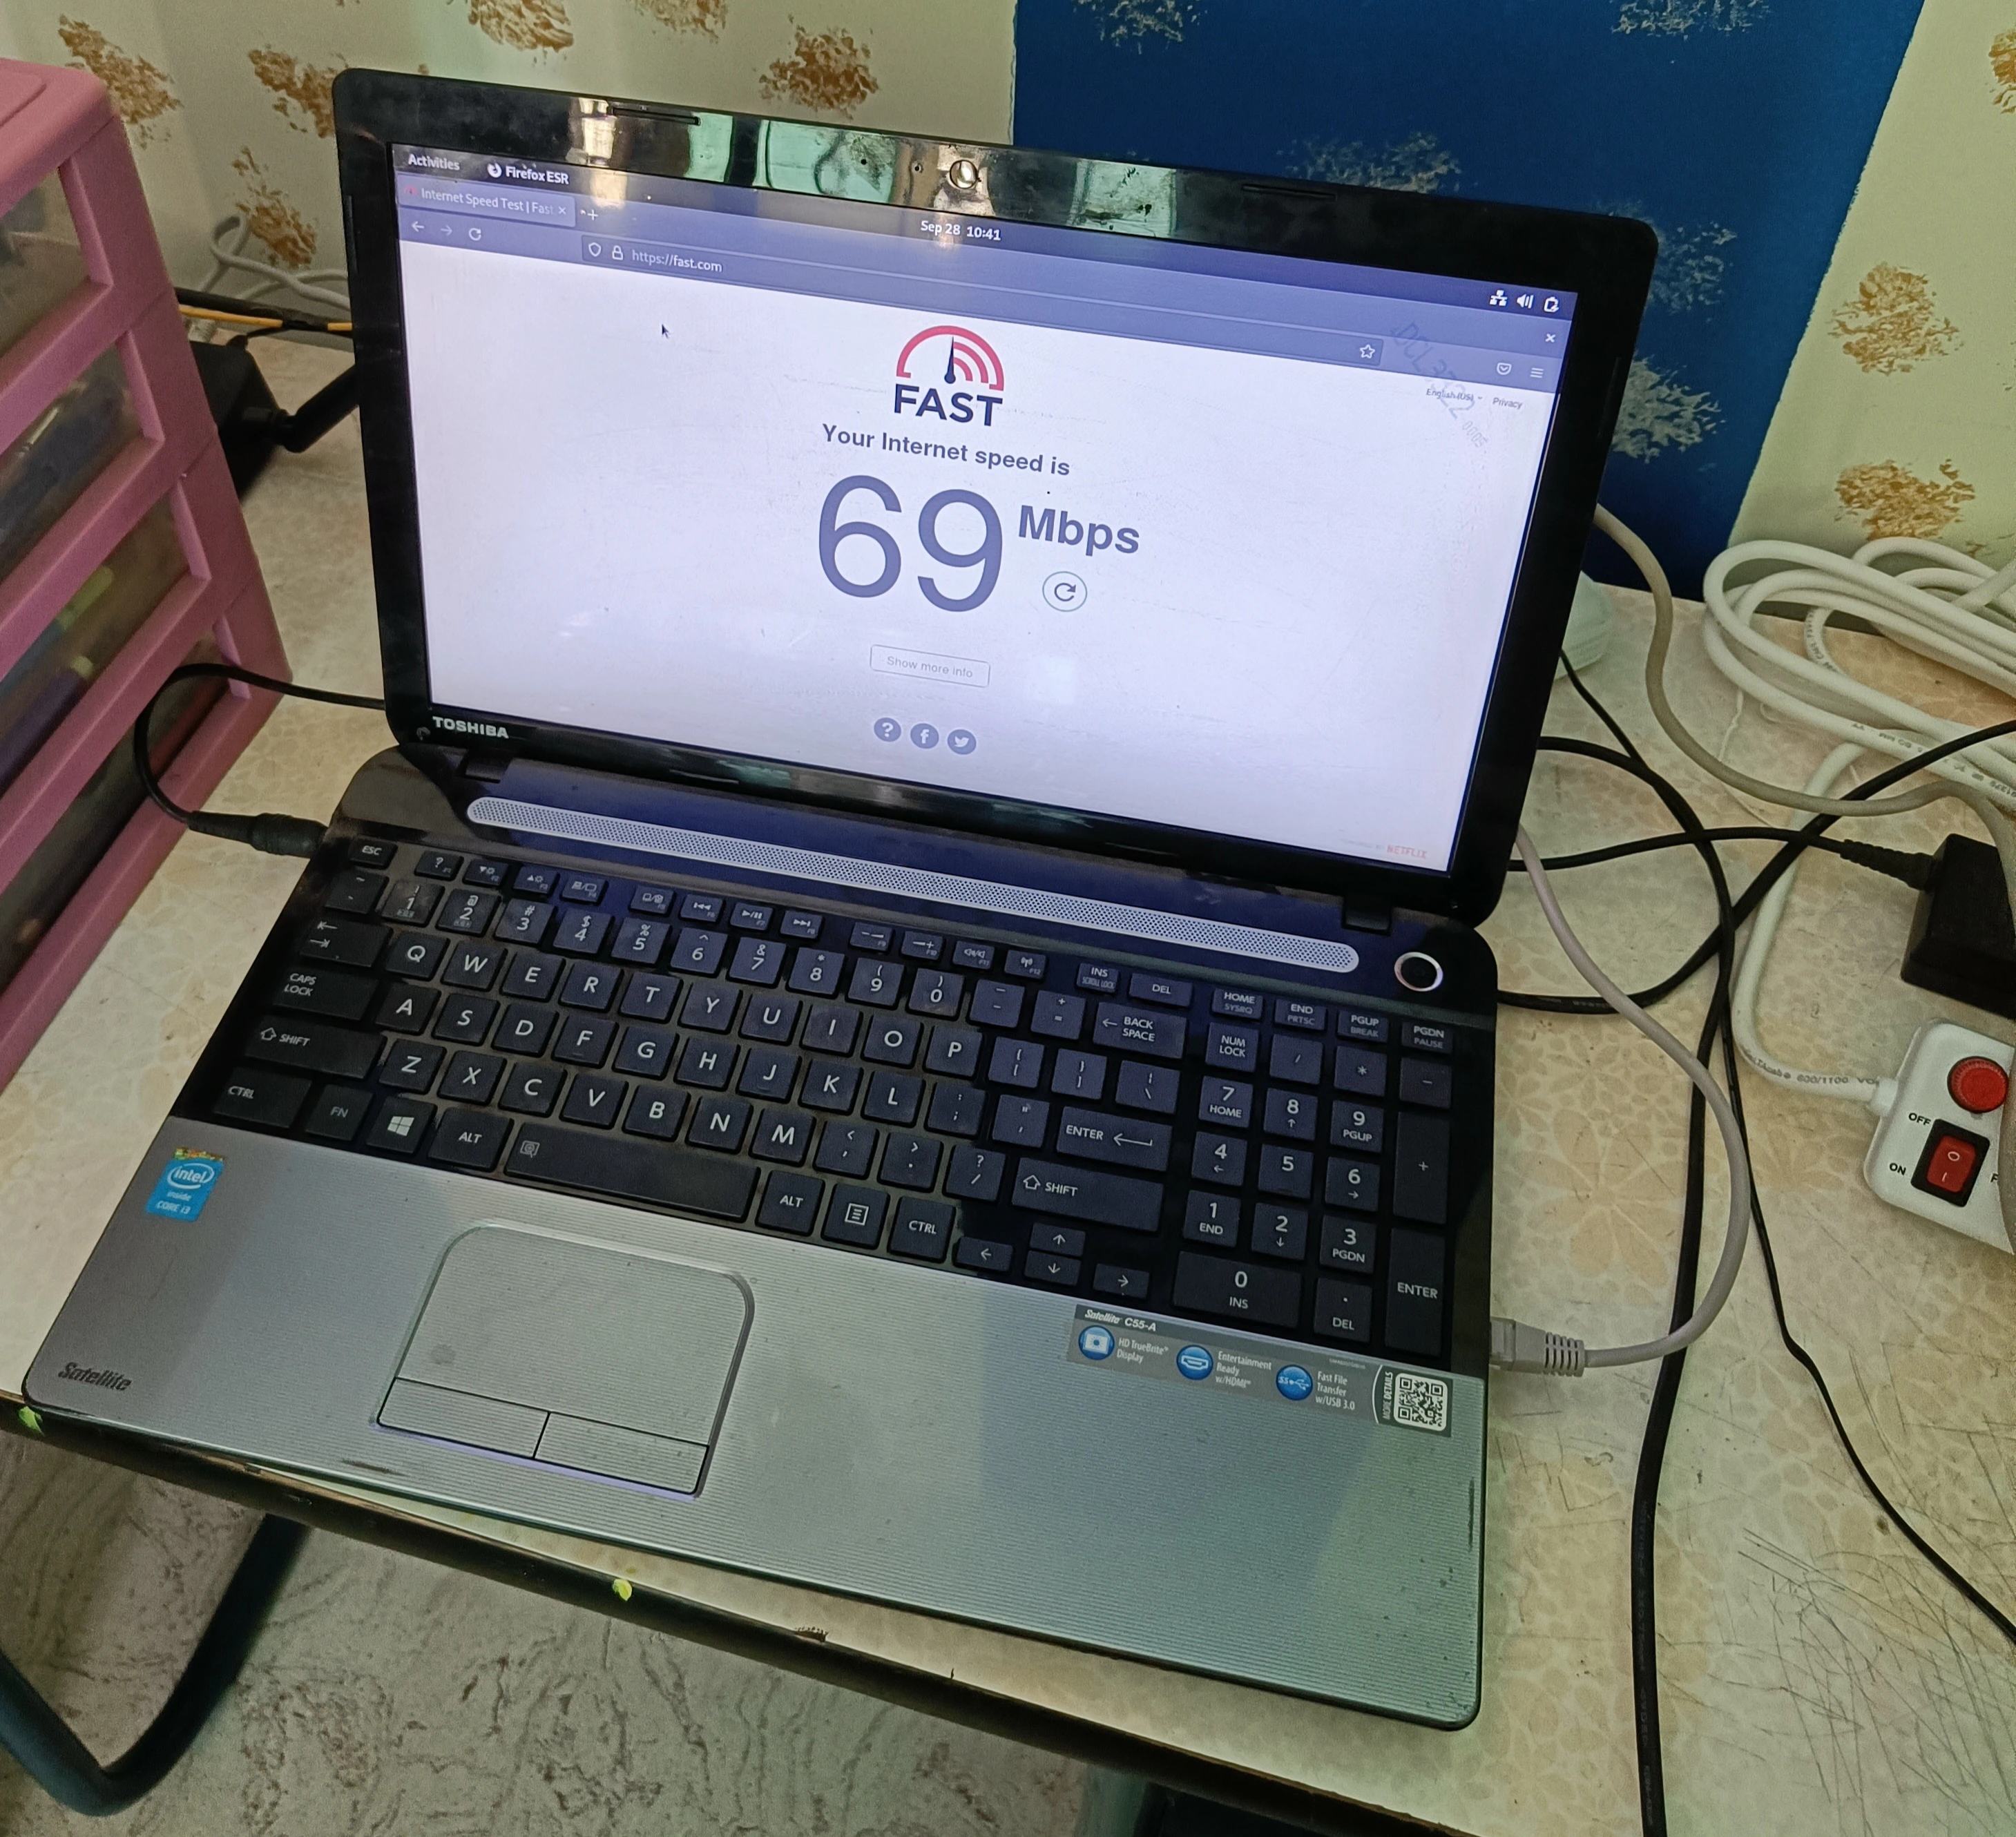
I went with the torrent download of the ISO file. Since, it will be faster. I chose the netinstaller cause i couldn’t find the normal one or there wasn’t one idk. Netinstaller worked well in my case as the internet in my home good enough that most the software it needed to download didn’t take long. It may not be suitable for someone living in a slow internet location.
FLASHING OS
You need to flash the usb stick with the os of your choice.
It was fairly straightforward all you ever need to install a linux distro is usb stick that is ideally above 4gb of storage capacity. You can use rufus or media creation tool of your choice.
For Linux users you have a lot of choice you can do something like
| |
i made it up from memory don’t copy paste
or use the cat command or use media creation tool already present in your Operating System if your running a normie distro.
RECOMMENDED
I chose to go with ventoy it is awesome as it allows me to have multiple linux distros in a same usb. It is as simple as setting up ventoy in the usb and then dragging and dropping your ISOs into the Ventoy folder. HIGHLY RECOMMENDED*
Once the usb is flashed properly now we need to boot from it
BOOTING
Booting from the usb is fairly simple. While booting you simply have to hold down the button that makes it go into the UEFI / BIOS menu. It was F2 for me. Once insde the UEFI menu UEFI_MENU go to
In boot menu
- navigate to SECURITY TAB and Disable SECURE BOOT
- Optionally Change Boot order so USB comes first
At this point i had keyboard issues. A lot of keys in the laptop stopped working. So, i had to improvise. Numpad arrow right and Numpad arrow up worked. Left arrow and Down arrow Worked. F2 worked
I had to go to windows and press SHIFT and restart to go into Boot Menu. These workarounds are specific to the laptop i had. Your case may vary.
Select the OS you want to install from USB.
STEP 2
INSTALLING OS
I am gonna skip all the steps here. it is pretty straightforward. The installation wizards will ask you stuff and you have to click a few buttons.
STEP 3
Installing DOCKER
What is docker ?
Docker is a containerization platform unlike virtual machines where all the components of the system are simulated. Here the host kernel is used by the container. Long story short. Virtual machines have performance hit. Docker not so much. Makes it ideal for my old laptop.
The docker website has some good documentations and ways to make docker install very easy. docker-installation easy installation
Remove if installed previous
| |
install fresh
set up apt repo
| |
install package
| |
There are few additional steps you might need to do to make docker run as non root user
Log out and log back in
Enable auto start up of docker service
Applications that i am currently using
Most the docker images i am using are from linuxserver They have the docker compose for everything. Which makes it very easy for me to copy paste everything
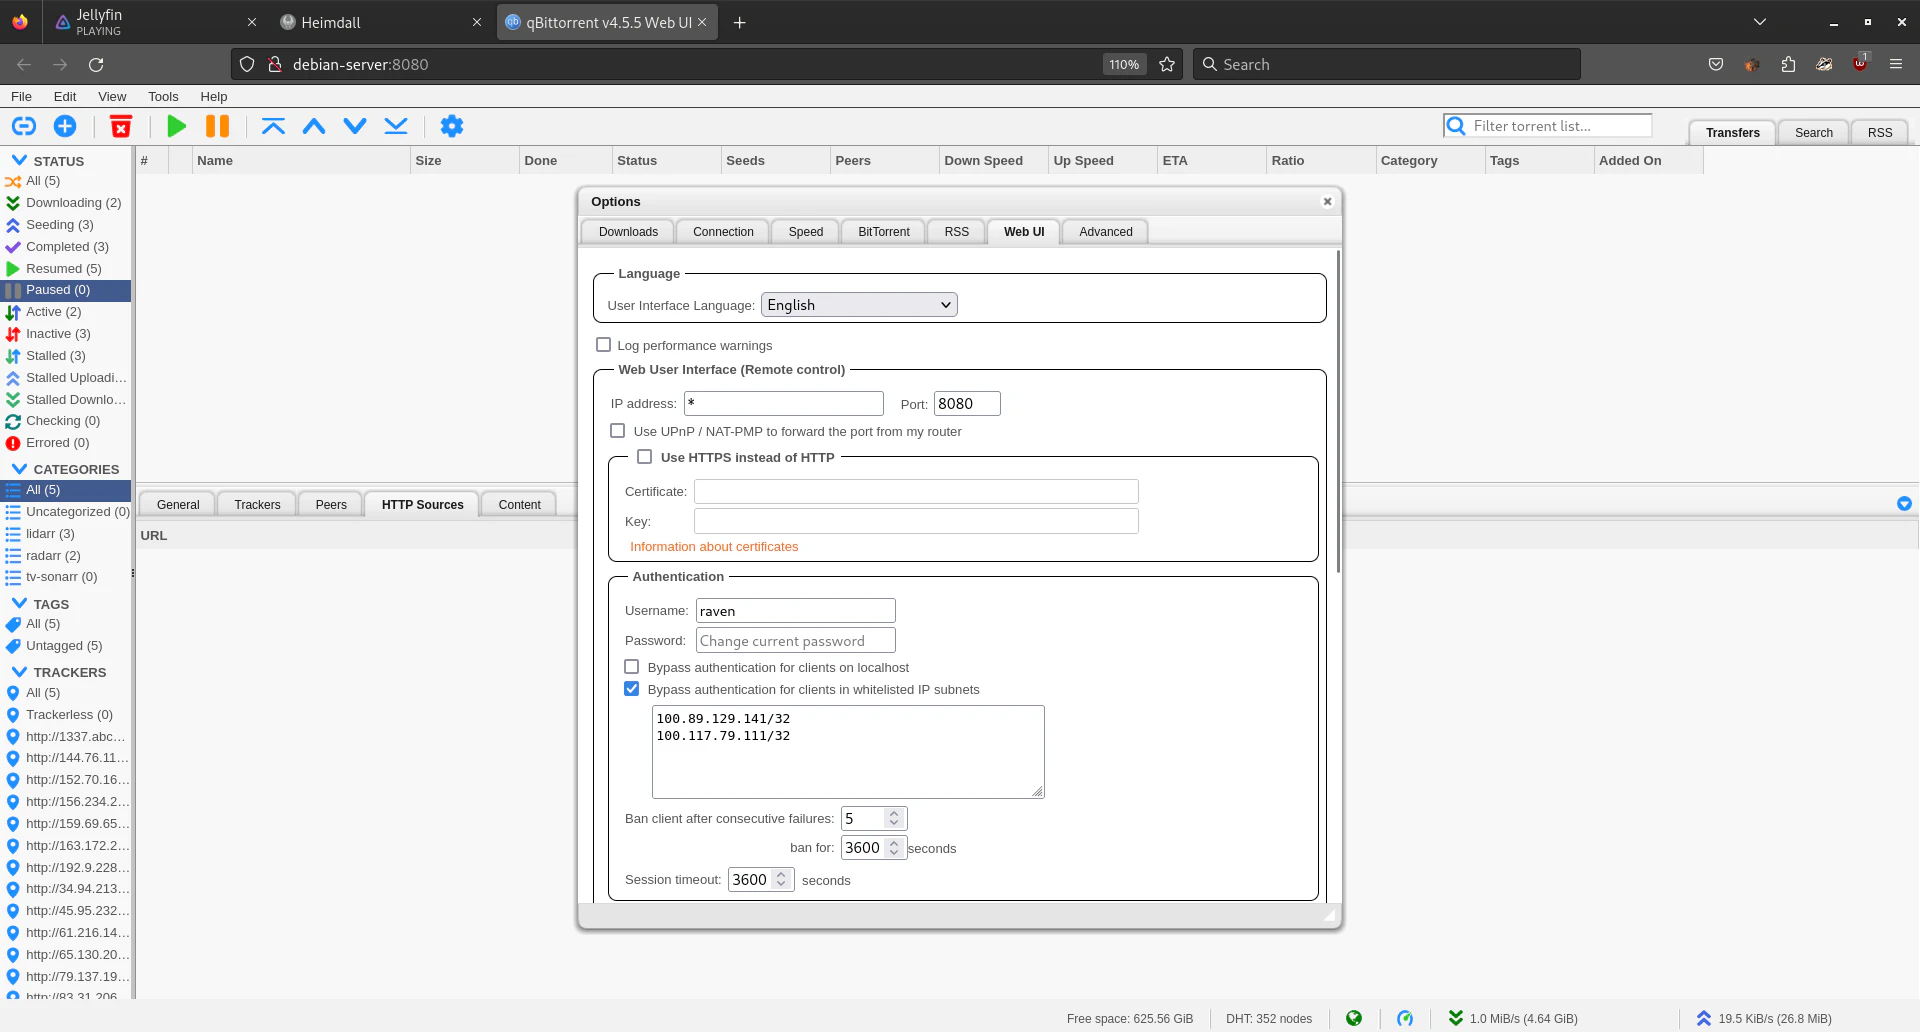
qBittorrent
qBittorrent is an open source bittorrent downloader. It allows for webui to manage it. sweet.
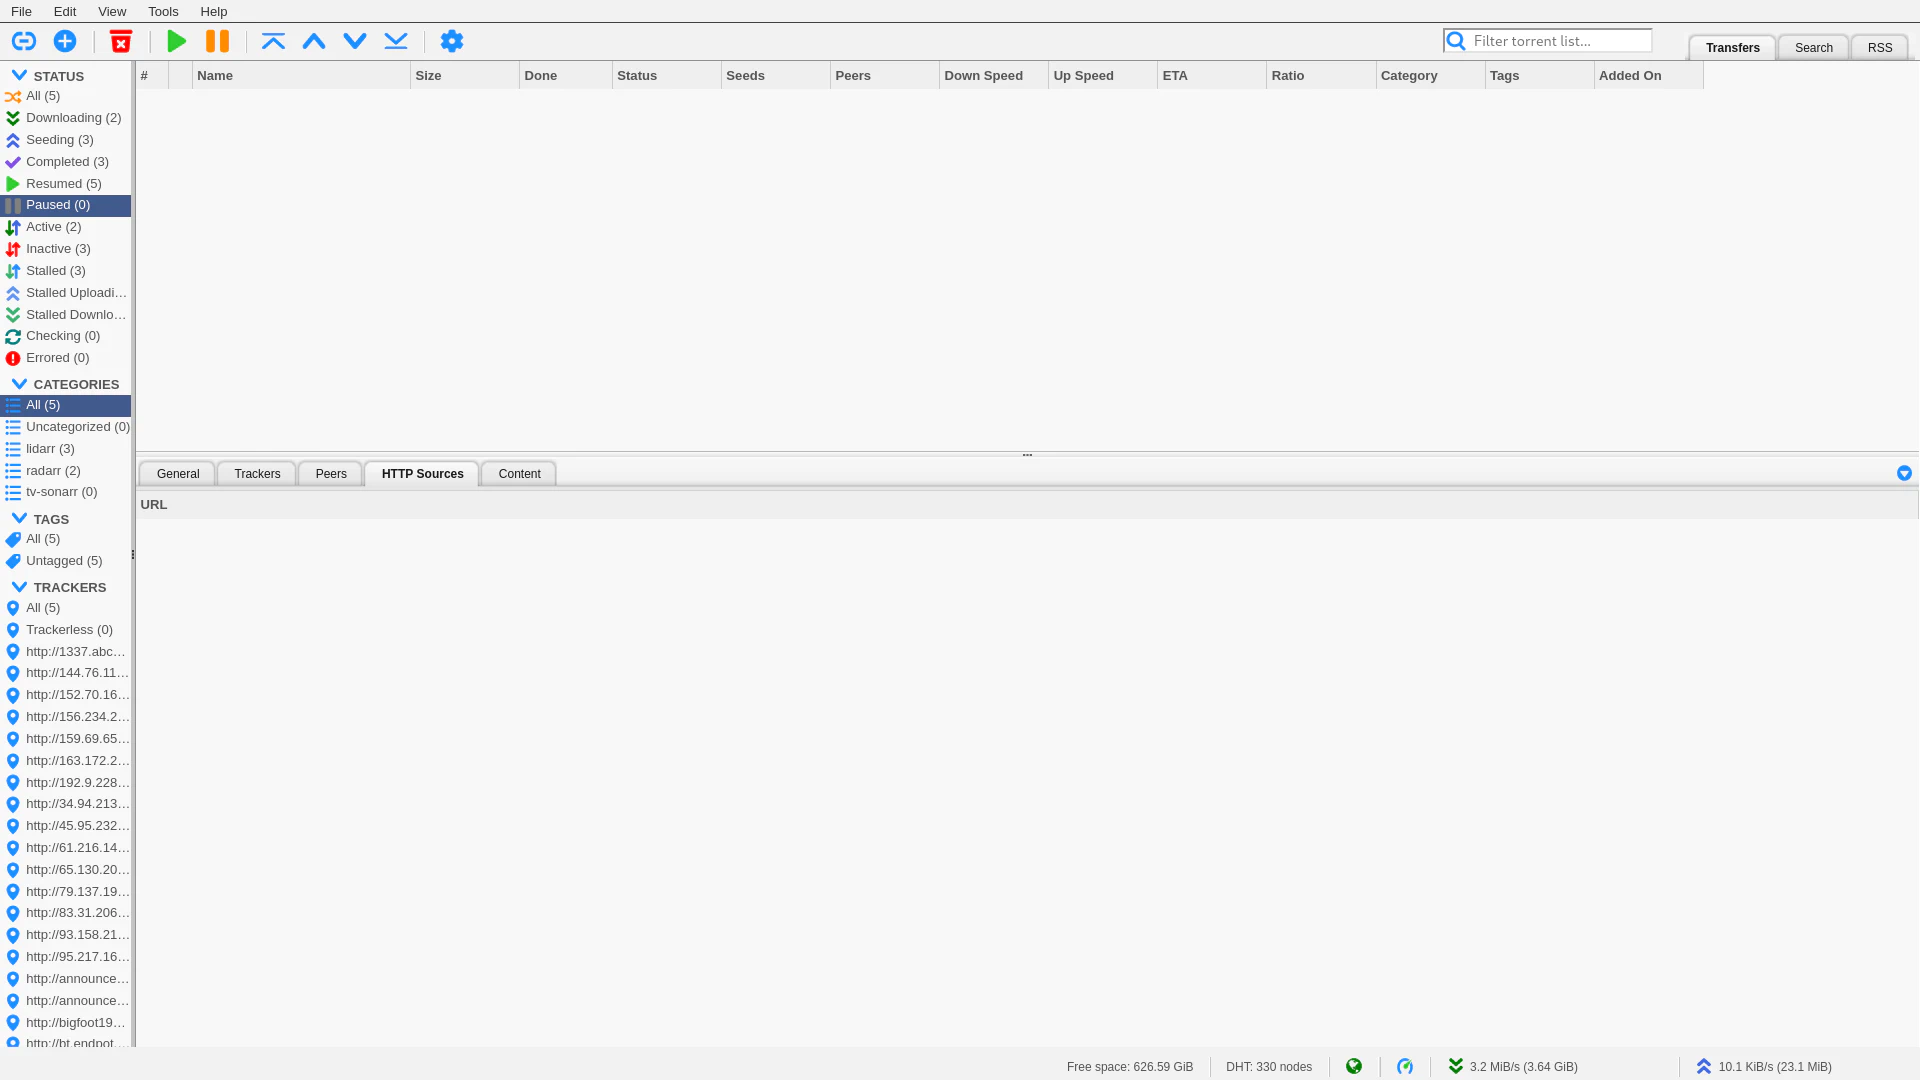
setting it up is easy. Go to settings -> enable webui
as you can see from the image below i have added my tailscale ip to the whitelist so i don’t need to authentiate using username and password.
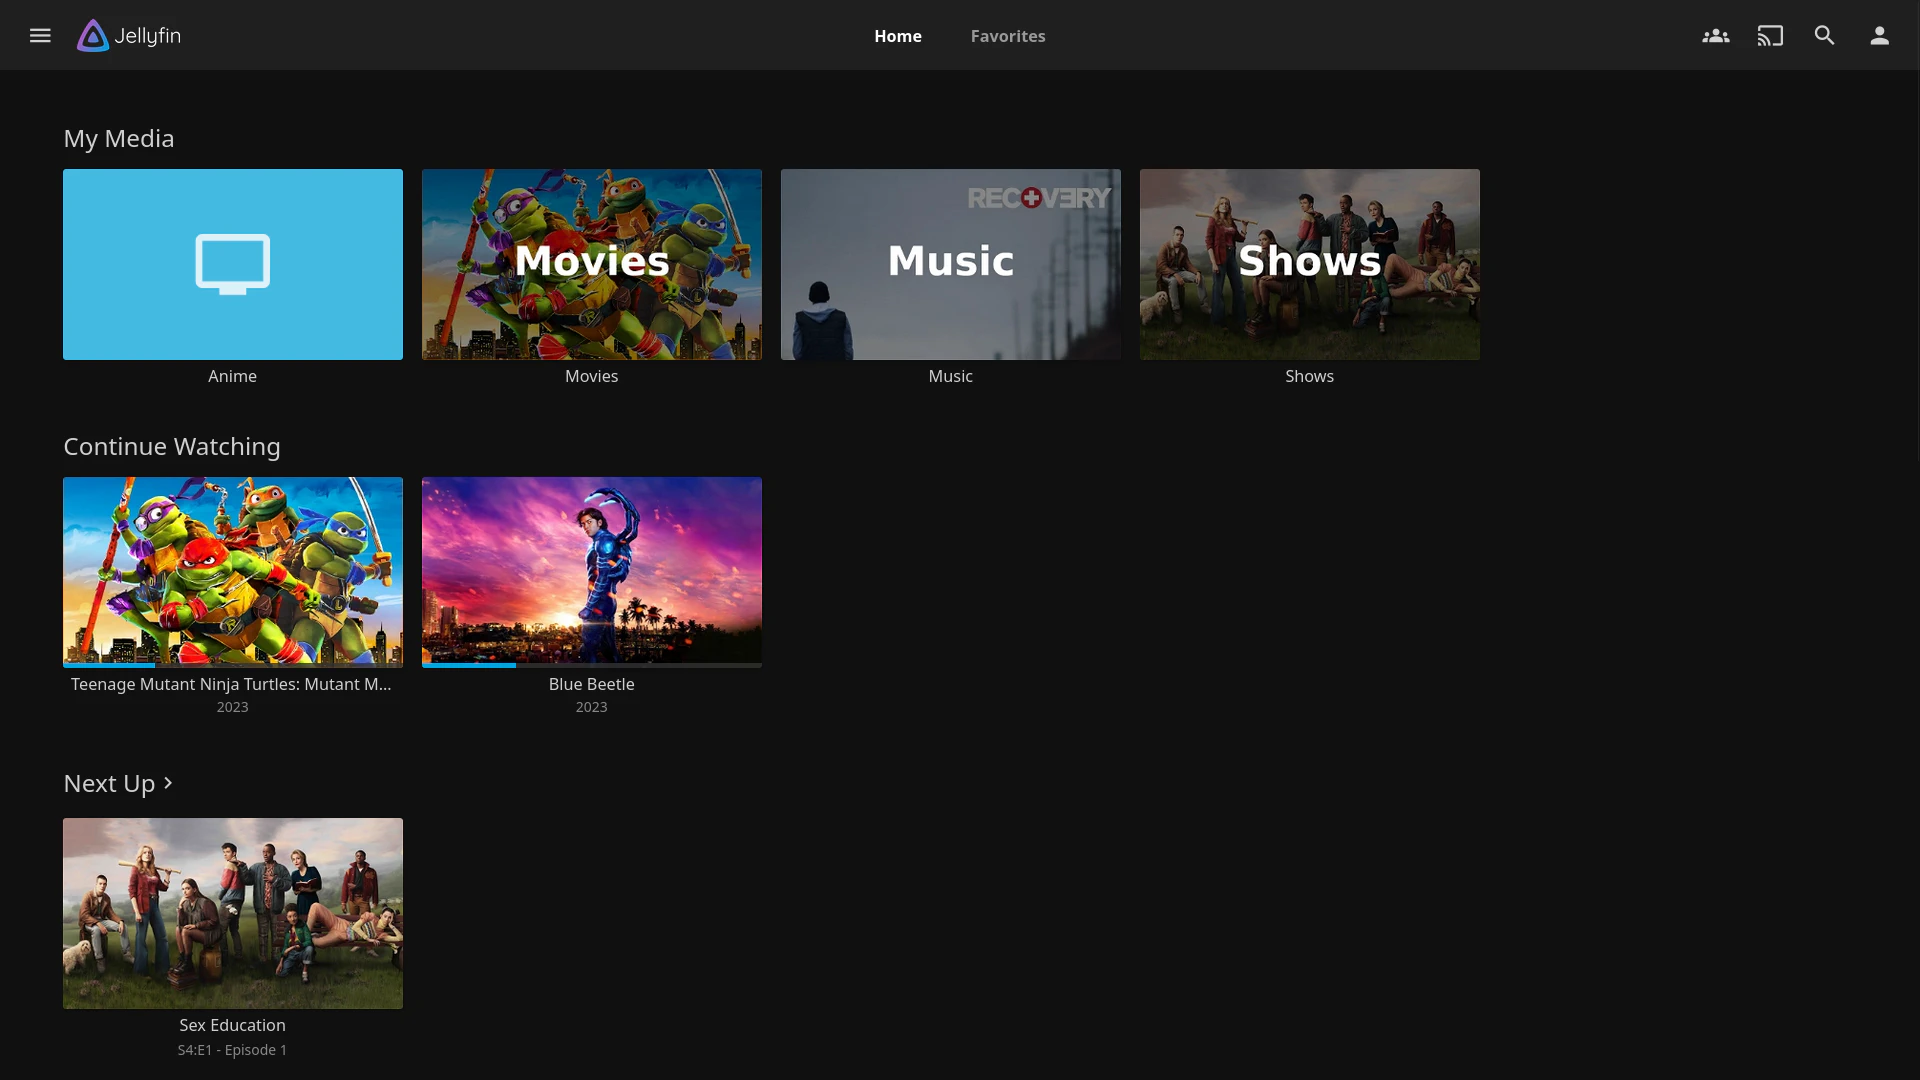
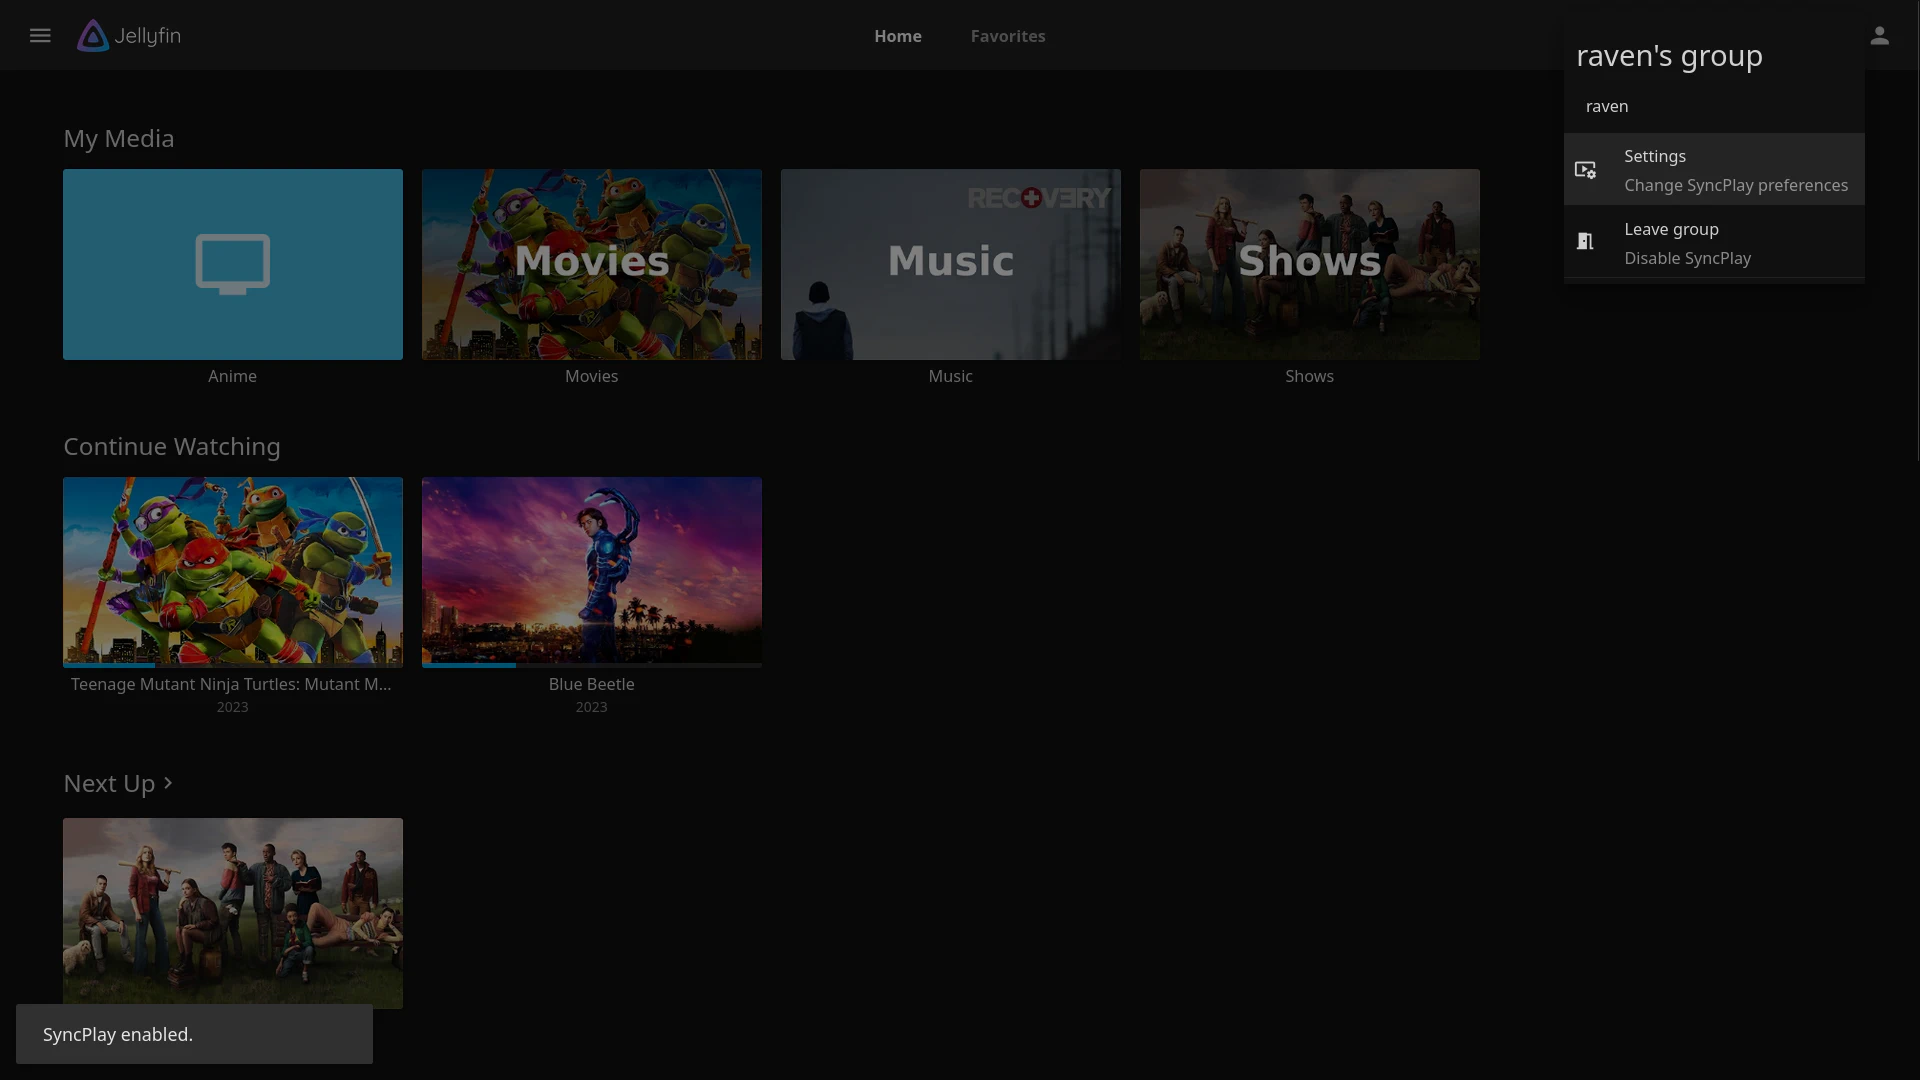
Jellyfin
Media server to serve all the medias you legally own
Jellyfin allows you to serve all the media you legally own. Rip Your own stuff
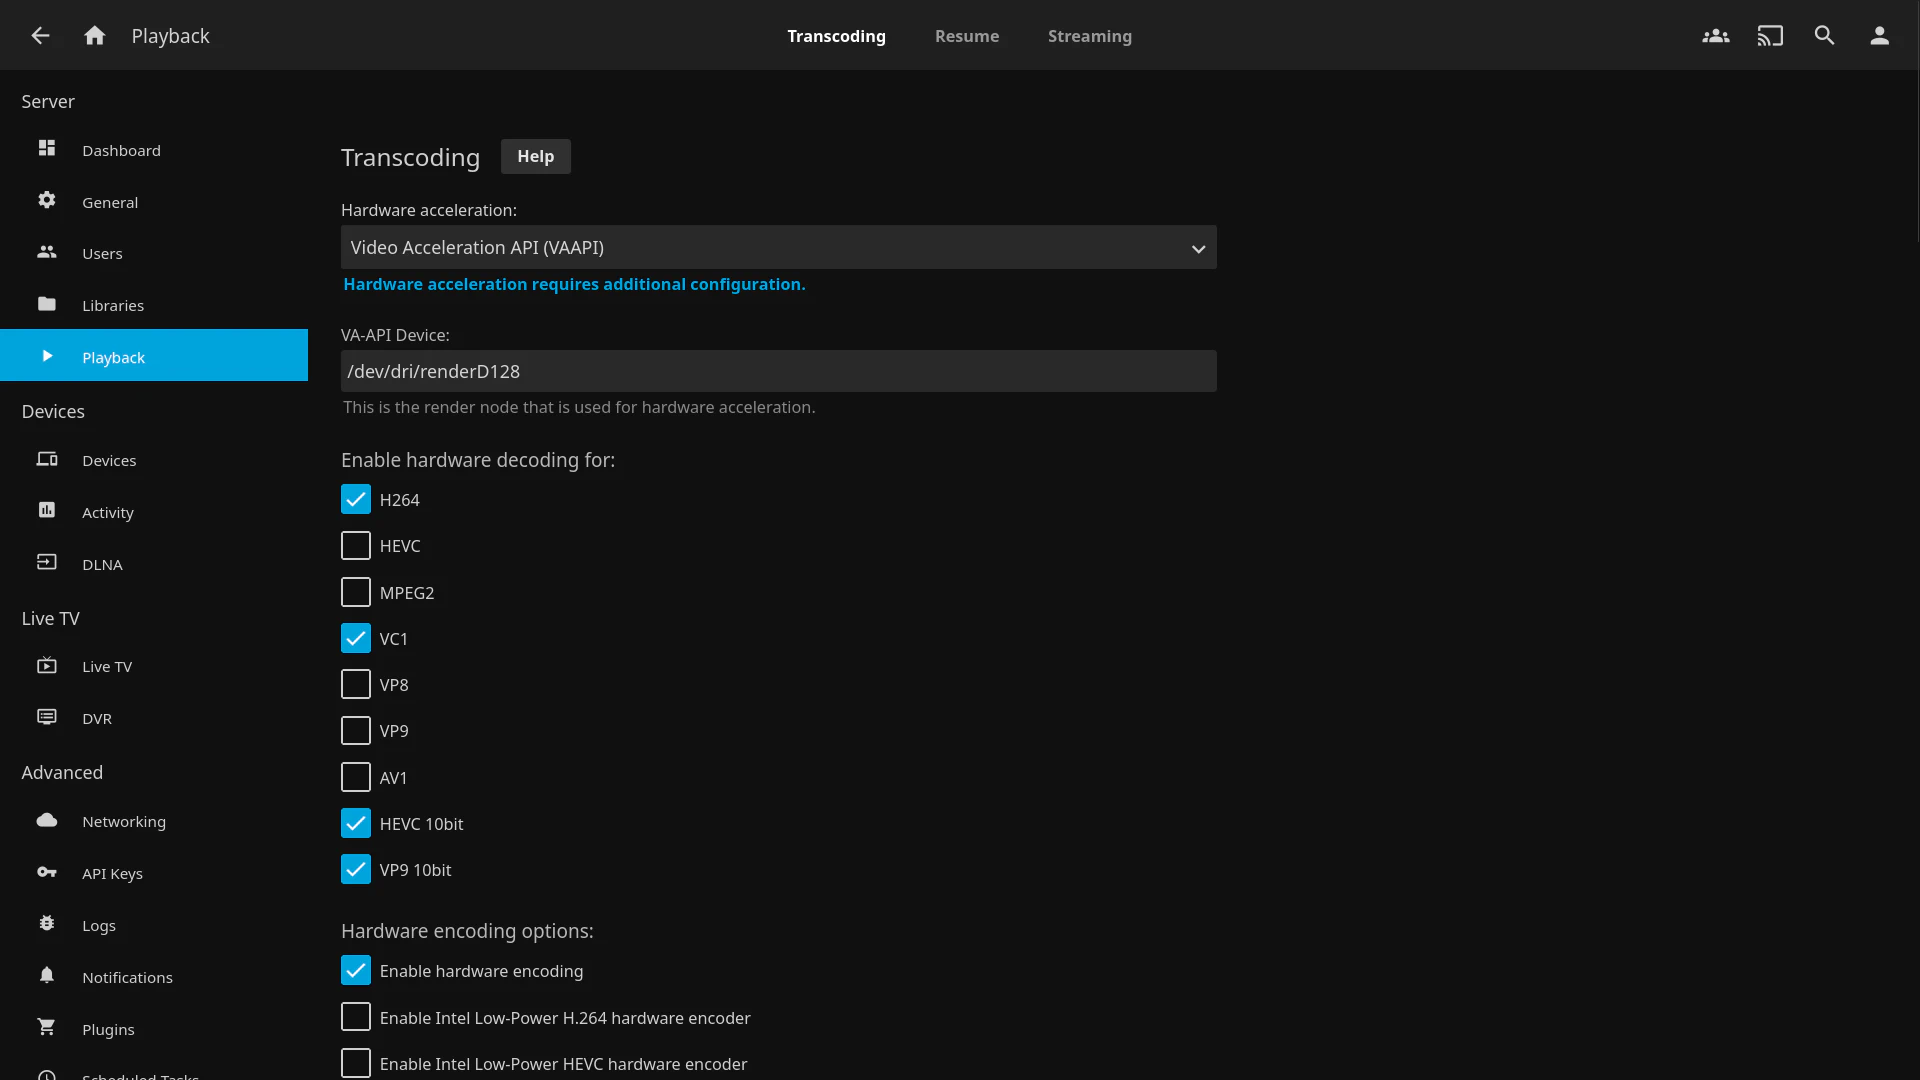
Jellyfin allows you to have transcoding when possible to allow hardware acceleration go to Settings -> dashboard -> playback -> vaapi
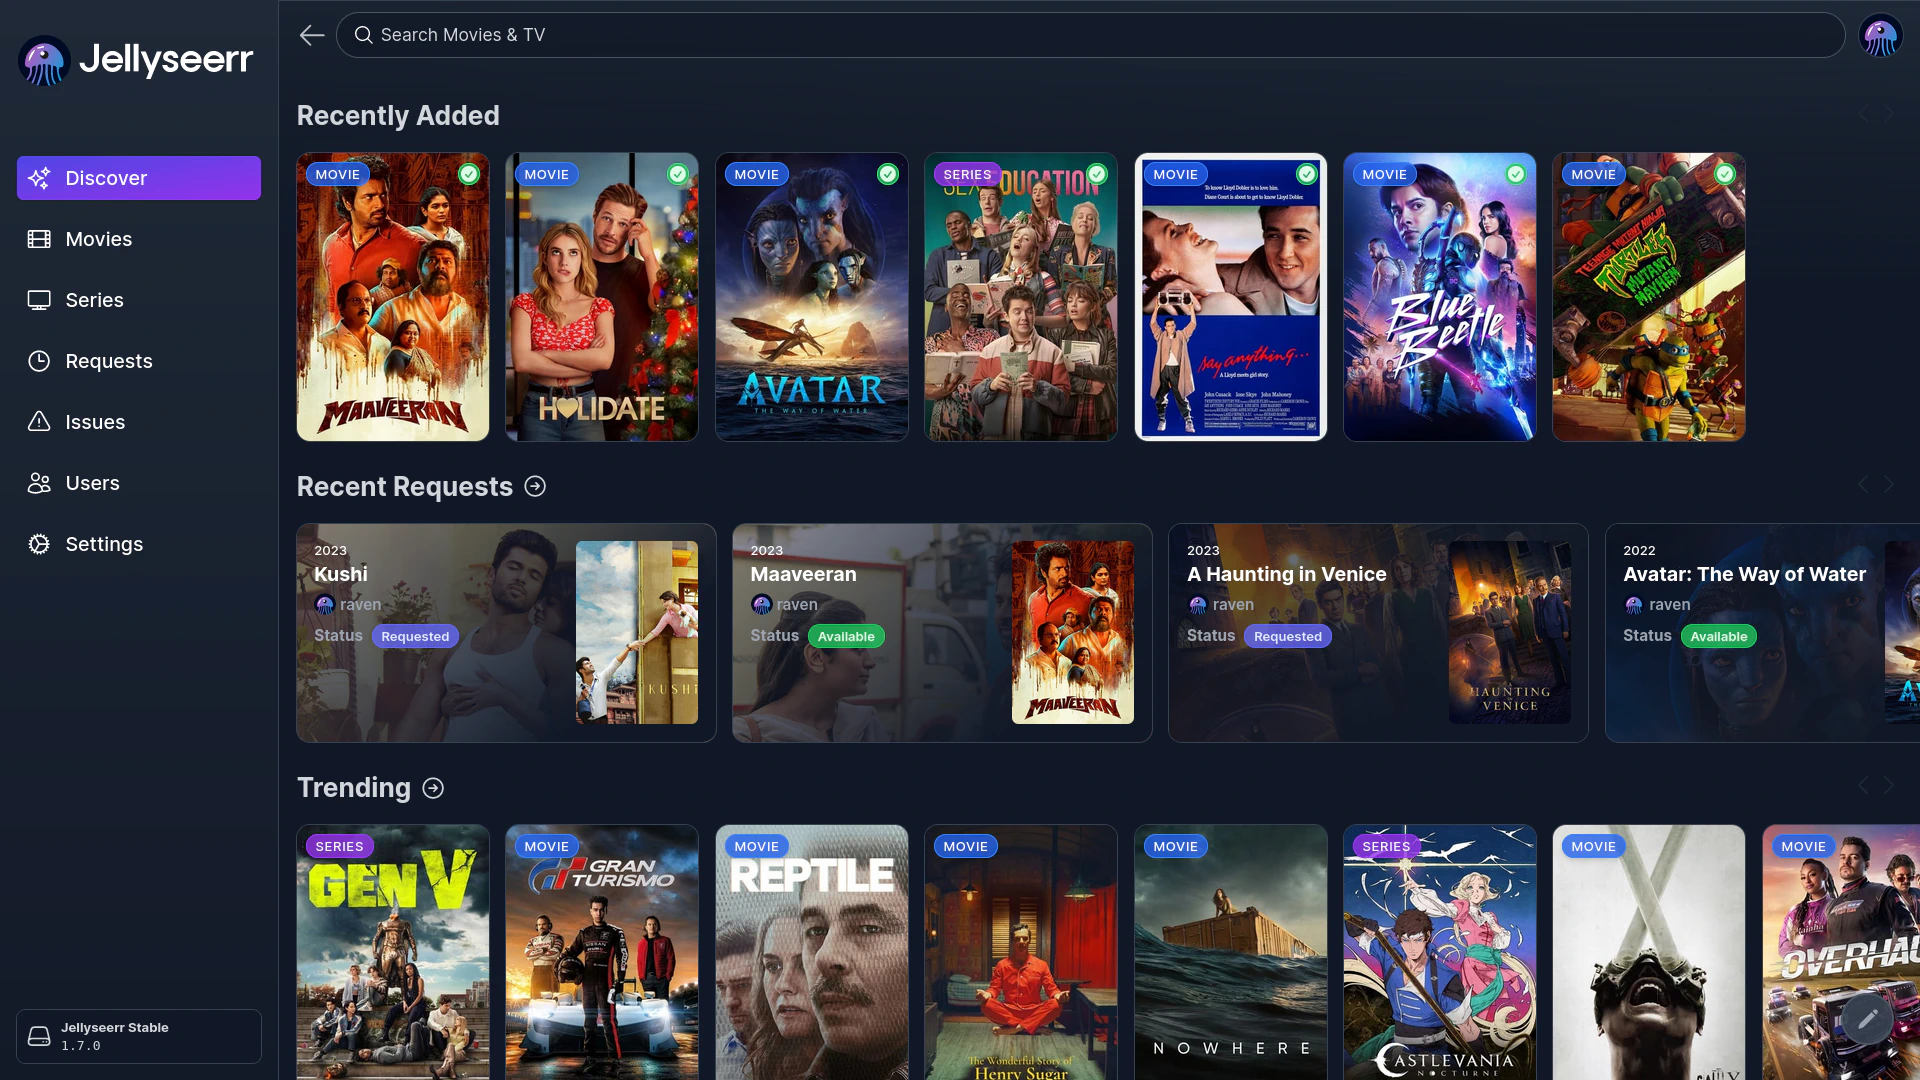
Jellyseerr
Jellyseer allows the users you are serving the jellyfin to request you media they want to see. It is a media requesting thingy. it is quite nice ;) wink wink
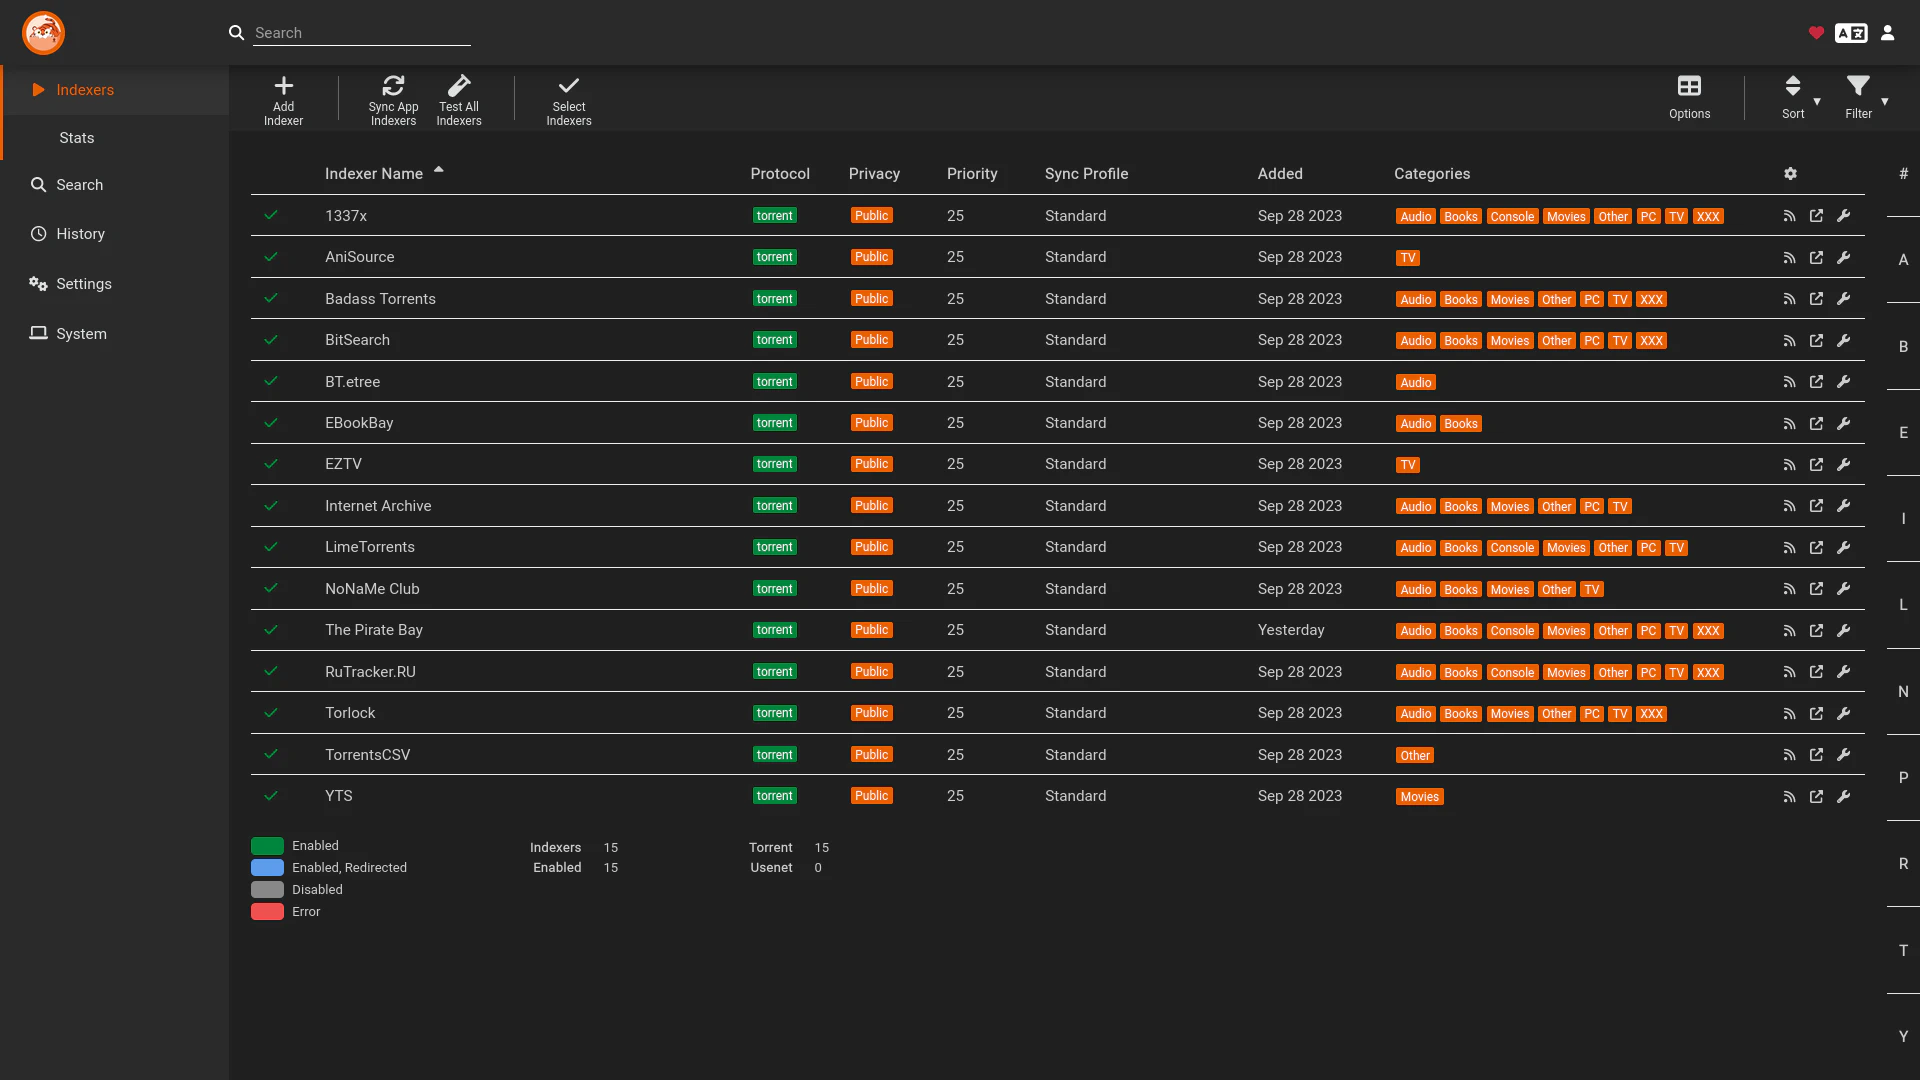
prowlarr
Say if you want to download linux isos but there are like 1000 sites. this is where prowlarr comes in. this will help you search through all the sites that provide linux isos.
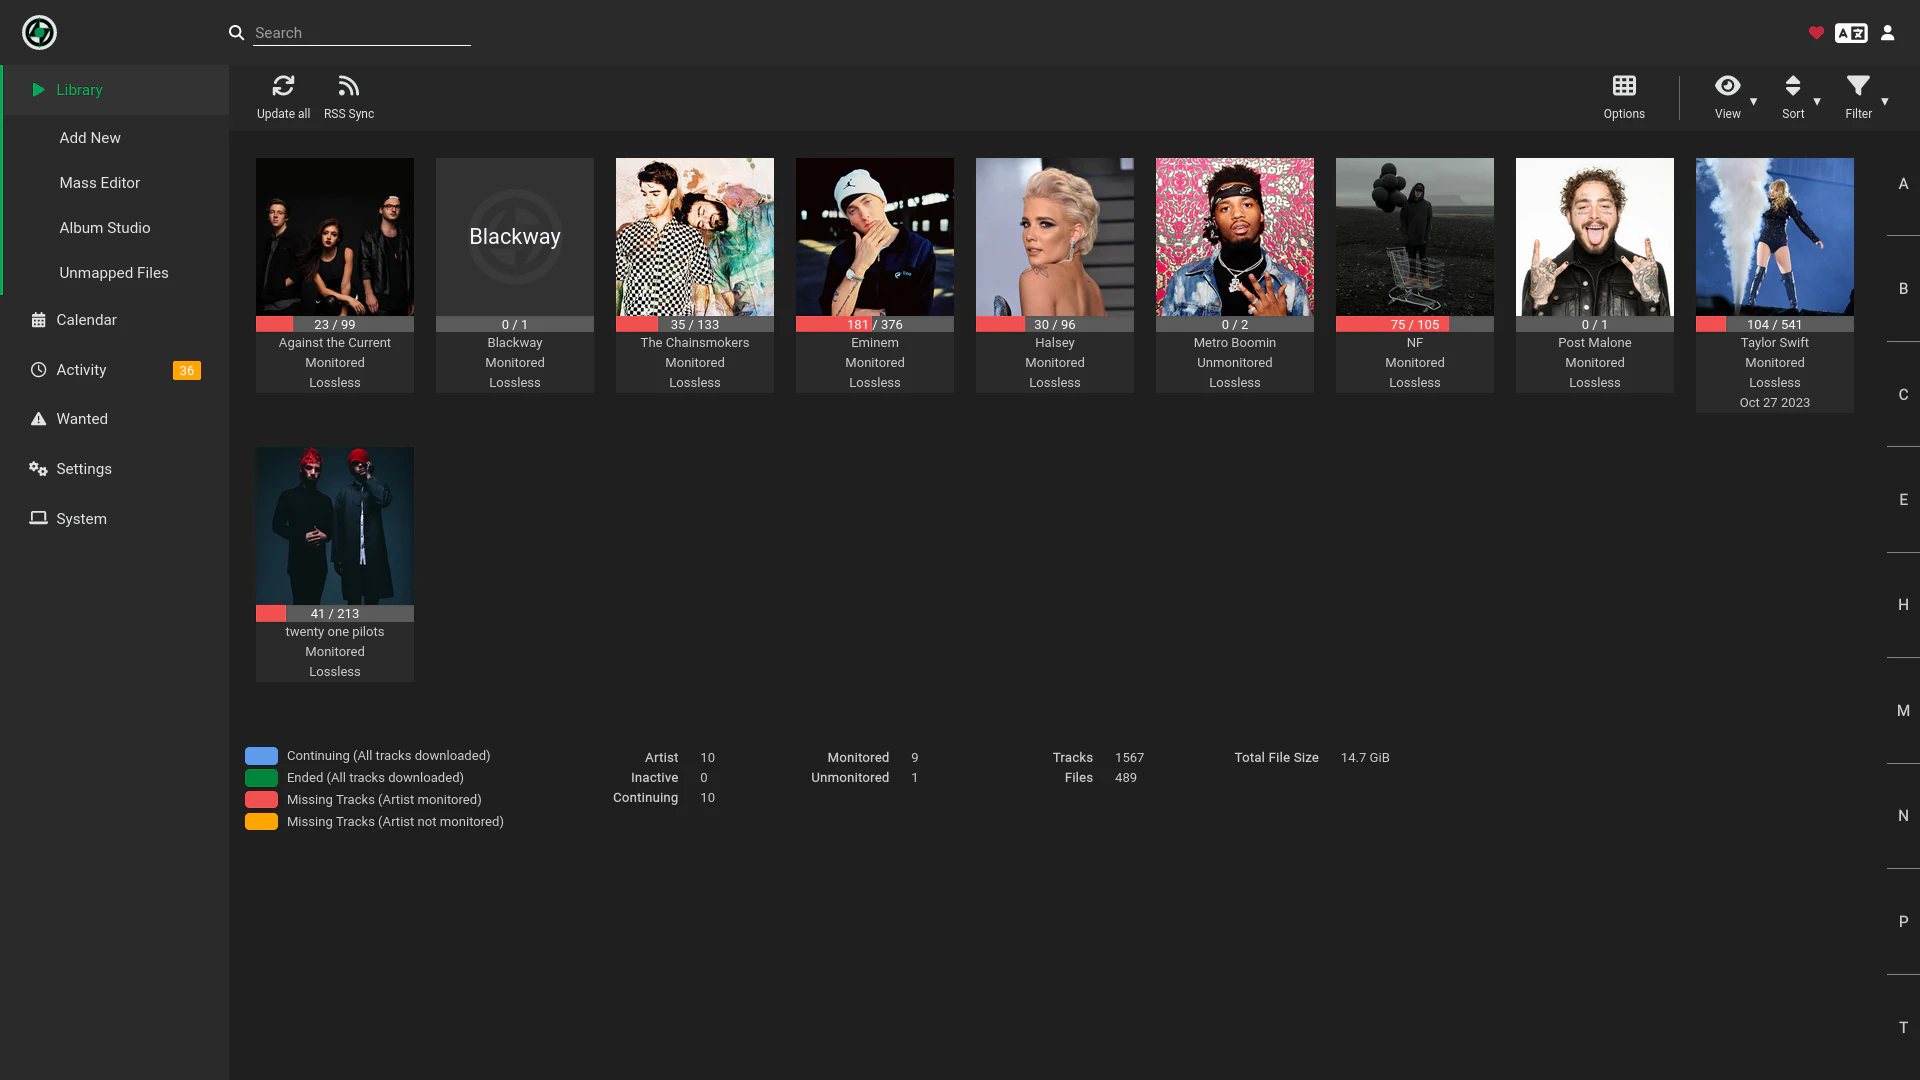
lidarr
ok enough with the linux isos pun. lidarr helps you with keeping you up with your music needs. It allows you track Artist. It tracks all the albums you already have and any upcoming ones. It will automatically download them and rename them. You goto enable rename files
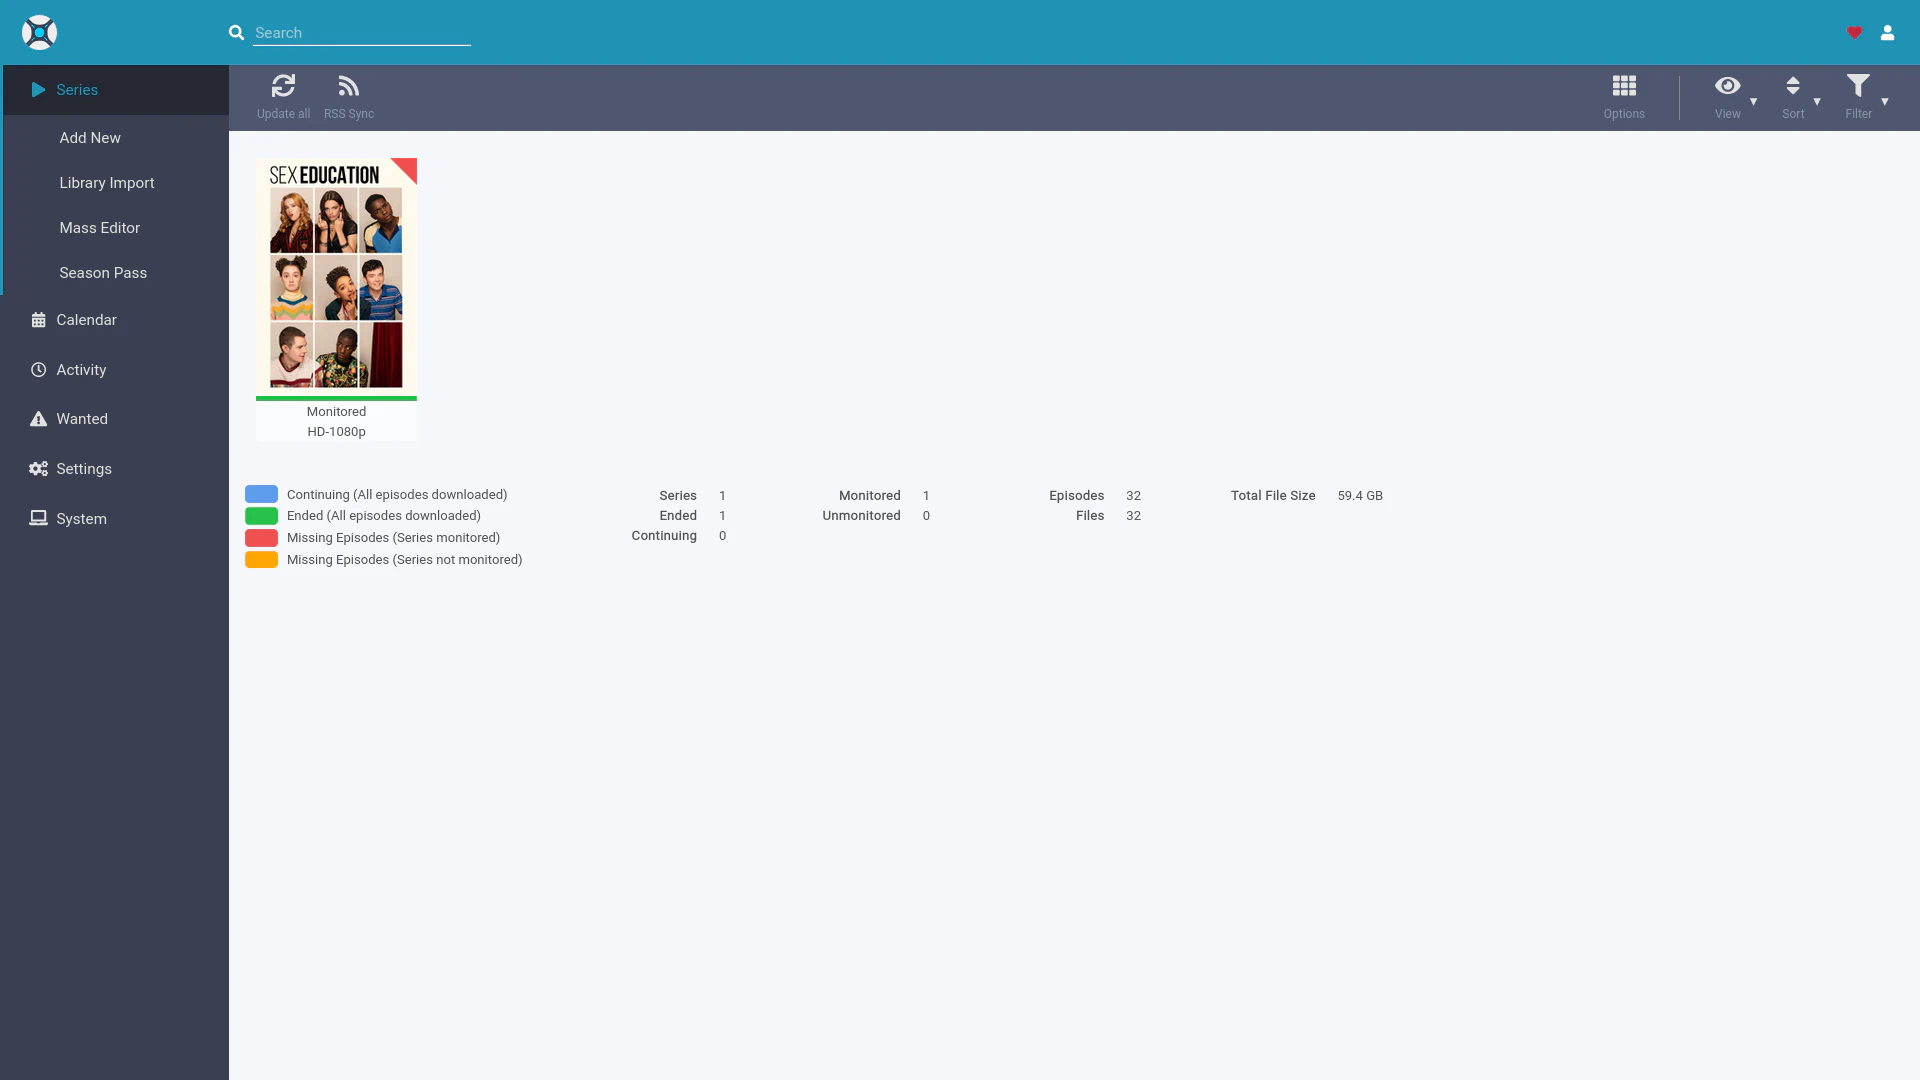
sonarr
same stuff but for TV Shows. This lets you track all the shows you watch and keep them organised
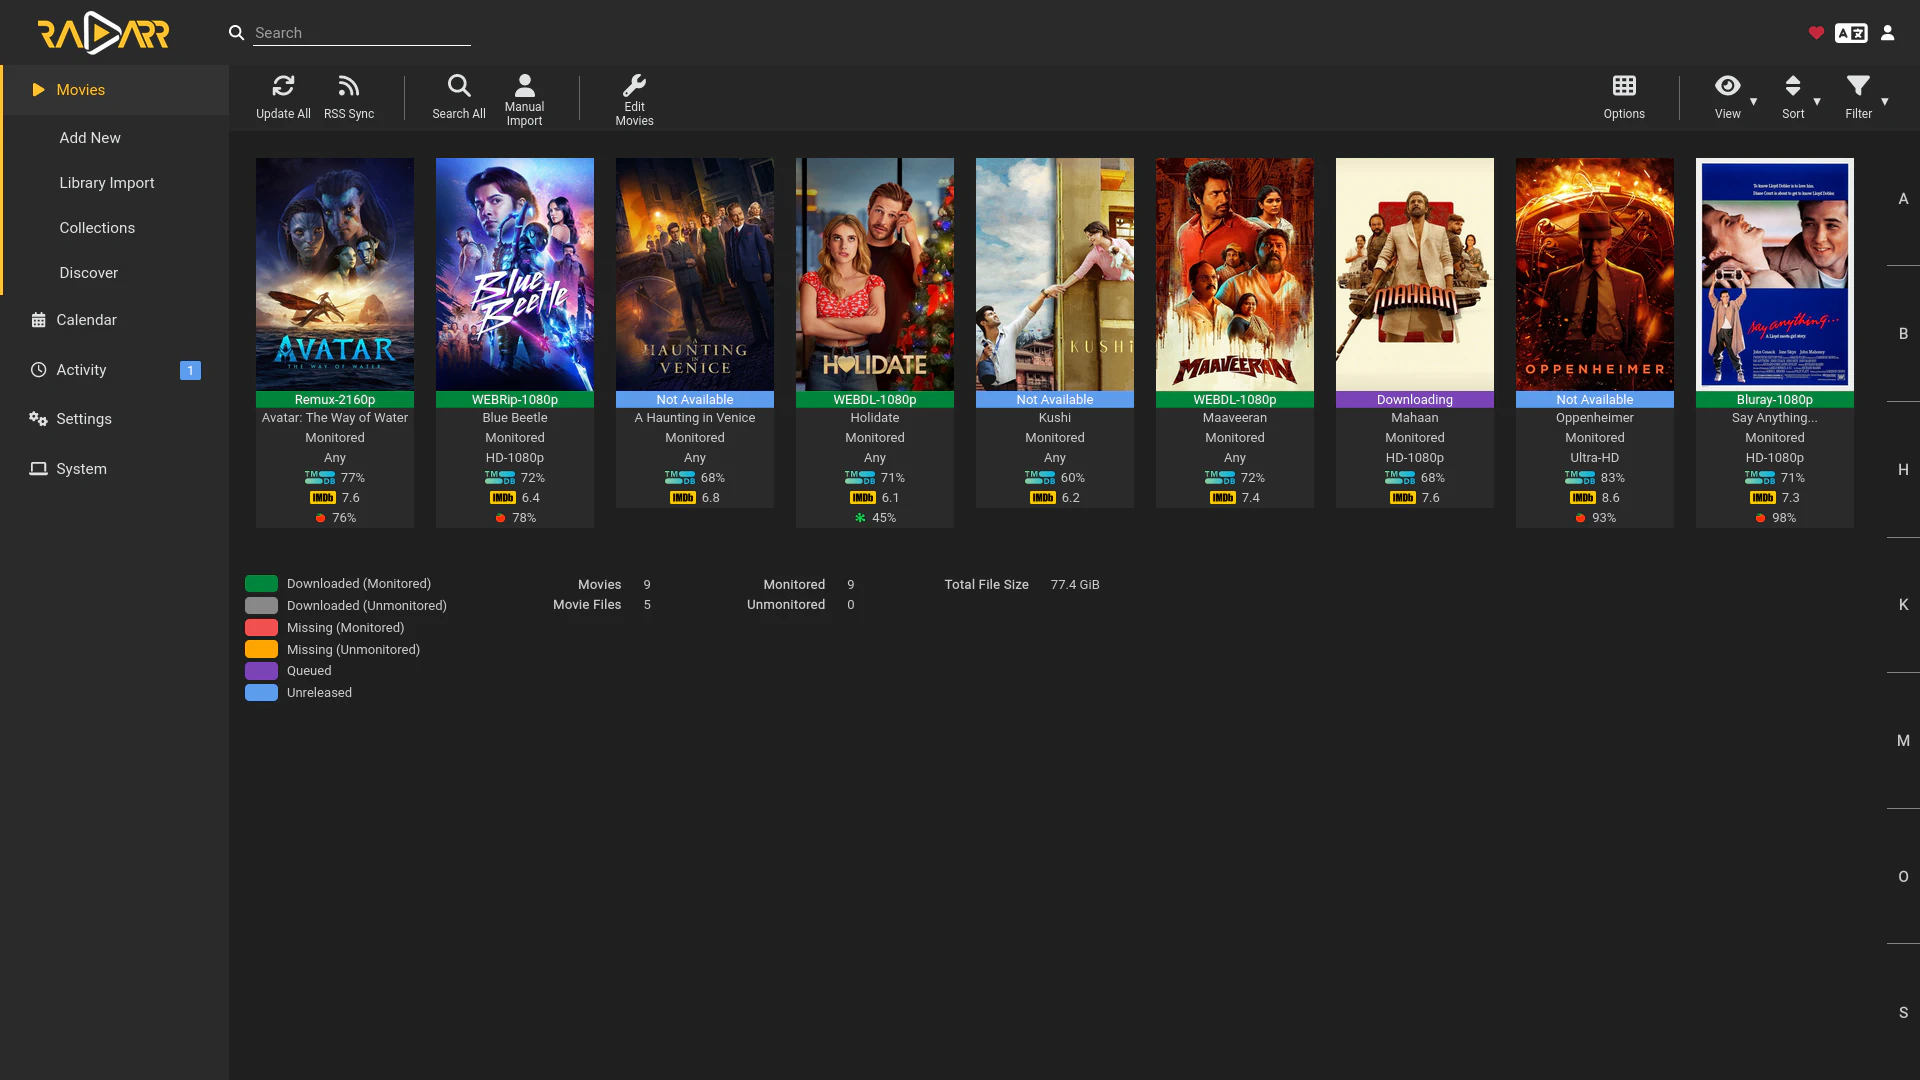
radarr
To keep track of all your Movies.
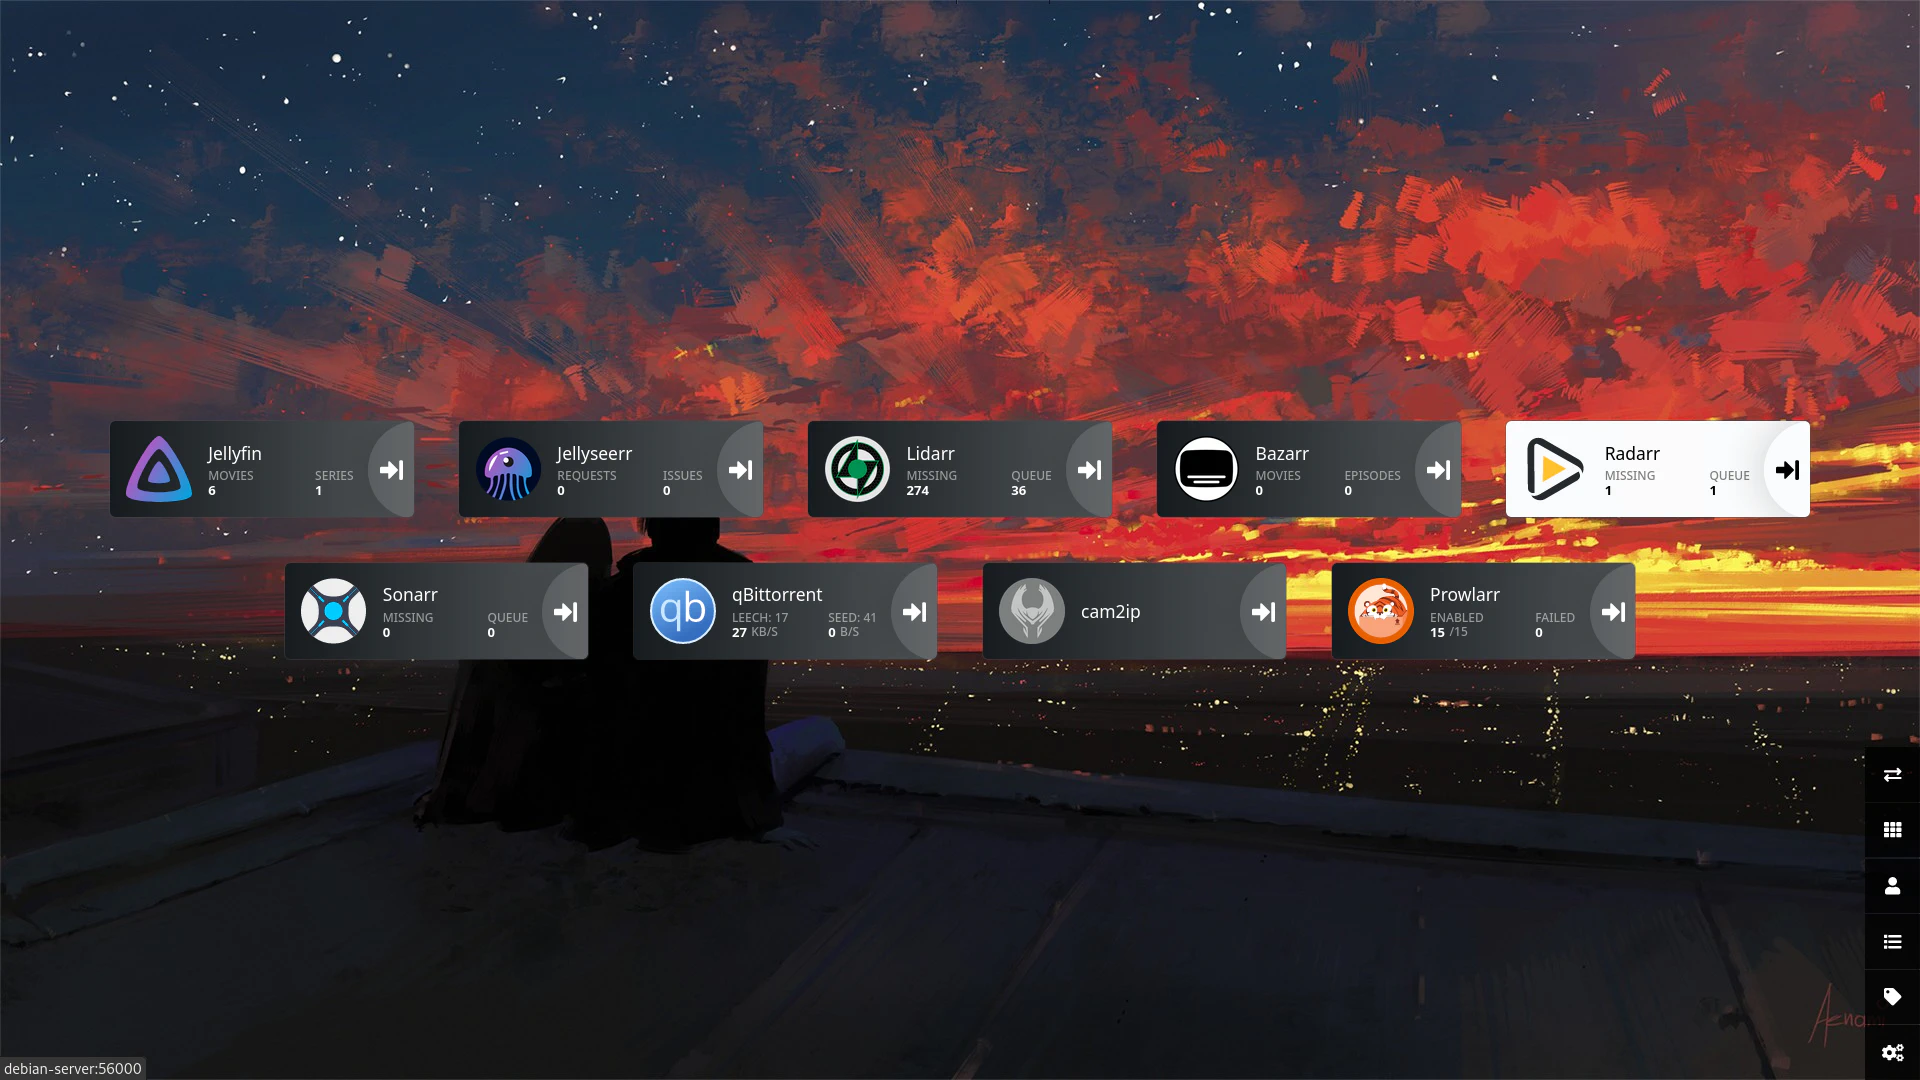
heimdall
Having lot of applciations running on your server can quickly become a hassle to keep track of. You gonna need some kind of link list. Why not go for a homepage. It talks with most the popular homelab applications and puts it on the homepage
ip2cam
This is one the few fun things i wanted to do. This basically allows you to stream your webcam.

It’s pretty dark here. but the point is you can stream your webcam through http which is pretty cool. combine it with text to speech program like GNUstep. You can mess around with your family. (They shut down my server (raven) when i messed with them too much… :( )
Final docker compose
| |
Installing Tailscale
I wanted to access my machine even when i was out of the house. So, you can either use port forwarding to acces it from anywhere which was impossible as my ISP has CGNAT or Double NAT. So, i decided go with Tailscale an atlernative was zerotier. But i didn’t know what the differece was so i went with tailscale. Basically it creates a mesh network where an extra network card showd up in your machince and you can access your remote devices as if they were present in your localmachine
| |
It is pretty easy to setup.
SIGN UP TO TAILSCALE
Login in to your tailscale account Or create a new one.
Click on add devices.
Follow the steps. in my case since i am using Debian it was
| |
Once installing gets completed an url will pop. Navigate to that url and sign in. And you are done
DONE
Now you can access your devices from anywhere. Since, it is a mesh network. There is to data limit. as Data isn’t going through Tailscale servers. They only helping in making the mesh network.
NOTES
TODO
script to make it so i can be reproducible everywhere tailscale funnel to share it with friends